Complete guide to integrating Z.AI GLM models with OpenCode CLI
OpenCode is a powerful AI coding agent that can be configured to use Z.AI’s GLM models.
Christmas Deal: Enjoy 50% off your first GLM Coding Plan purchase, plus an extra 10%/20% off! Subscribe now. 
For users who have used the service before 2025-12-22:
The default model has been upgraded to GLM-4.7. Please update your config accordingly.
Step 1: Installing OpenCode
The easiest way to install OpenCode is through the install script.
curl -fsSL https://opencode.ai/install | bash
npm install -g opencode-ai
Step 2: Getting Started
- Head over to the Z.AI API Console to get your API key.
- Run
opencode auth login and select Z.AI.
$ opencode auth login

┌  Add credential
│
◆  Select provider
│  ● Z.AI
│  ...
└
$ opencode auth login

┌  Add credential
│
◆  Select provider
│  ● Z.AI Coding Plan
│  ...
└
- Enter your Z.AI API key.
$ opencode auth login

┌  Add credential
│
◇  Select provider
│  Z.AI Coding Plan
│
◇  Enter your API key
│  _
└
- Run
opencode to launch OpenCode.
Use the /models command to select a model like GLM-4.7.
- Vision Search Reader MCP
Refer to the Vision MCP Server , Search MCP Server and Web Reader MCP Server documentation; once configured, you can use them in OpenCode.
Share
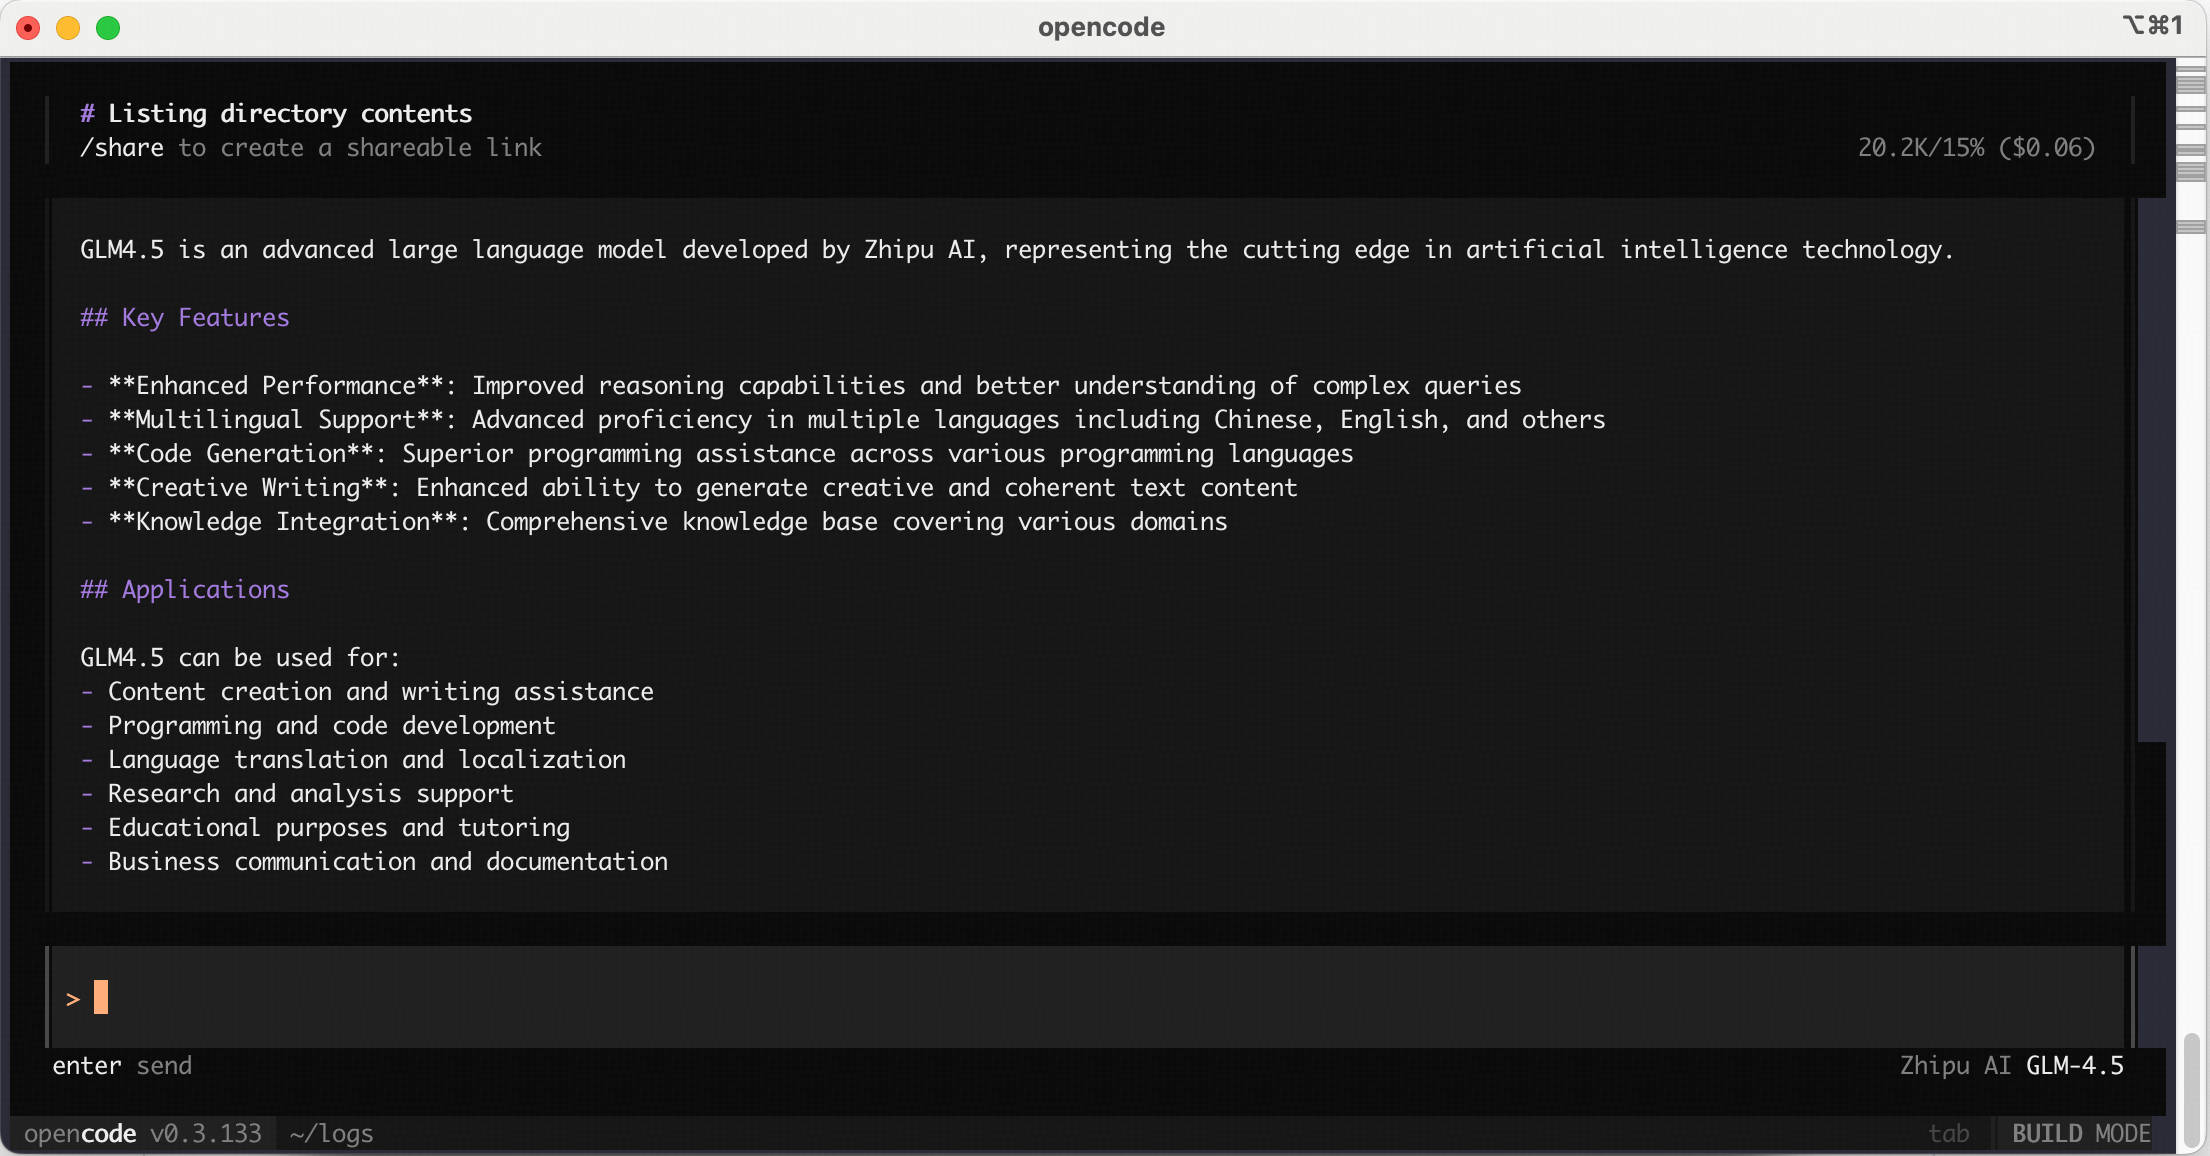
OpenCode’s share feature allows you to create public links to your OpenCode conversations, so you can collaborate with teammates or get help from others.
How it works
When you share a conversation, OpenCode:
- Creates a unique public URL for your session
- Syncs your conversation history to our servers
- Makes the conversation accessible via the shareable link —
opencode.ai/s/<share-id>
Share
By default, conversations are not shared automatically. You can manually share them using the /share command:
Un-share
To stop sharing a conversation and remove it from public access:
This will remove the share link and delete the data related to the conversation.
Learn more about sharing conversations.
IDE Extensions
OpenCode integrates with VS Code, Cursor, or any IDE that supports a terminal.
Installation
To install OpenCode on VS Code and popular forks like Cursor, Windsurf, VSCodium:
- Open VS Code
- Open the integrated terminal
- Run
opencode - the extension installs automatically
Usage
- Quick Launch: Use
Cmd+Esc (Mac) or Ctrl+Esc (Windows/Linux) to open OpenCode in a split terminal view, or focus an existing terminal session if one is already running.
- New Session: Use
Cmd+Shift+Esc (Mac) or Ctrl+Shift+Esc (Windows/Linux) to start a new OpenCode terminal session, even if one is already open. You can also click the OpenCode button in the UI.
- Context Awareness: Automatically share your current selection or tab with OpenCode.
- File Reference Shortcuts: Use
Cmd+Option+K (Mac) or Alt+Ctrl+K (Linux/Windows) to insert file references. For example, @File#L37-42.
Learn more about IDE integrations.
GitHub Workflow
OpenCode integrates with your GitHub workflow. Mention /opencode or /oc in your comment, and OpenCode will execute tasks within your GitHub Actions runner.
Features
- Triage issues: Ask OpenCode to look into an issue and explain it to you.
- Fix and implement: Ask OpenCode to fix an issue or implement a feature. And it will work in a new branch and submits a PR with all the changes.
- Secure: OpenCode runs inside your GitHub’s runners.
Installation
Run the following command in a project that is in a GitHub repo:
This will walk you through installing the GitHub app, creating the workflow, and setting up secrets.
Examples
Here are some examples of how you can use OpenCode in GitHub.
Add this comment in a GitHub issue.
/opencode explain this issue
- Review PRs and make changes
Leave the following comment on a GitHub PR.
Delete the attachment from S3 when the note is removed /oc
Resources
