Custom models in Qoder support the Coding Plan only — the general API billing mode is not supported. This feature is available for Pro Trial, Pro, Pro+, and Ultra users; Free and Teams plans are not supported.
Step 1: Install Qoder
Download and Install
- Go to the Qoder website and download the form that fits your workflow: Qoder IDE, Qoder JetBrains plugin, or Qoder CLI.
First Launch and Sign In
- In the top-right corner of the Qoder IDE, click the user icon — or use the keyboard shortcut
⌘ ⇧ ,(macOS) /Ctrl Shift ,(Windows) — and choose Sign In.
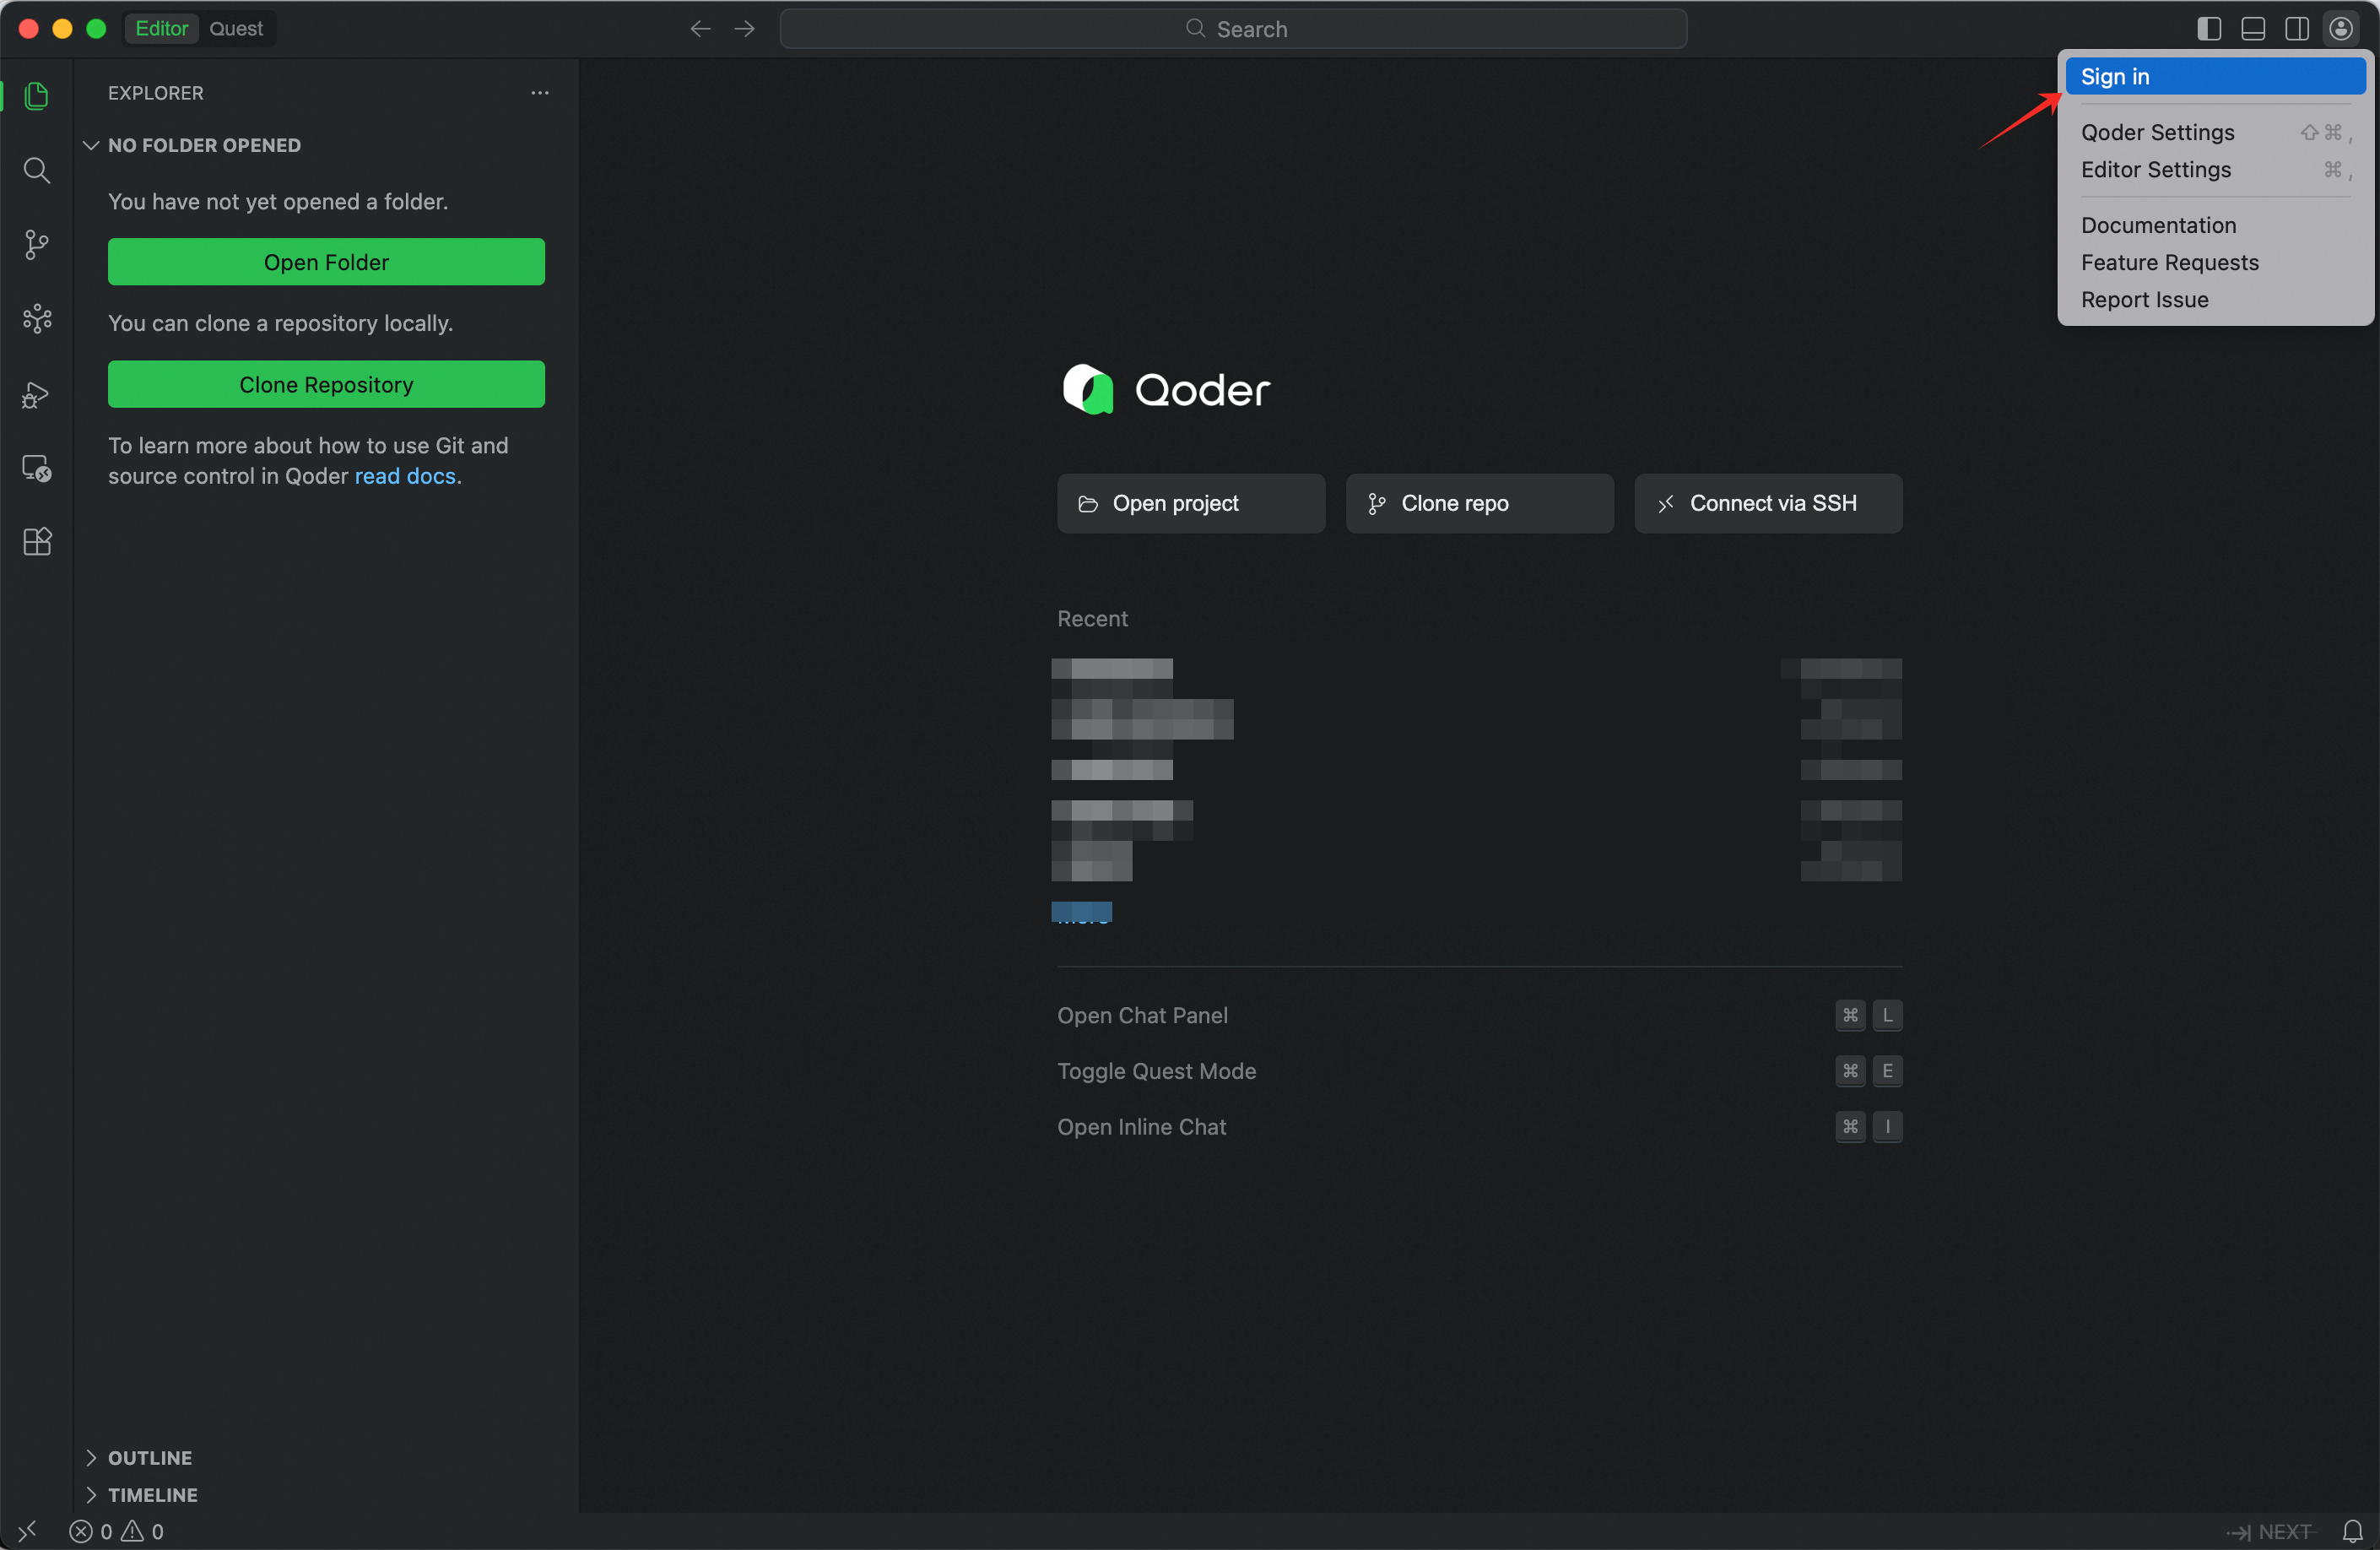
- In the page that opens, click Sign Up at the bottom and complete registration, or sign up directly with your Google or GitHub account.
- Return to the Qoder IDE. You can now use all features.
Step 2: Configure GLM in Qoder
Use your Z.AI API Key to add the GLM Coding Plan model in Qoder IDE.Open Models Settings
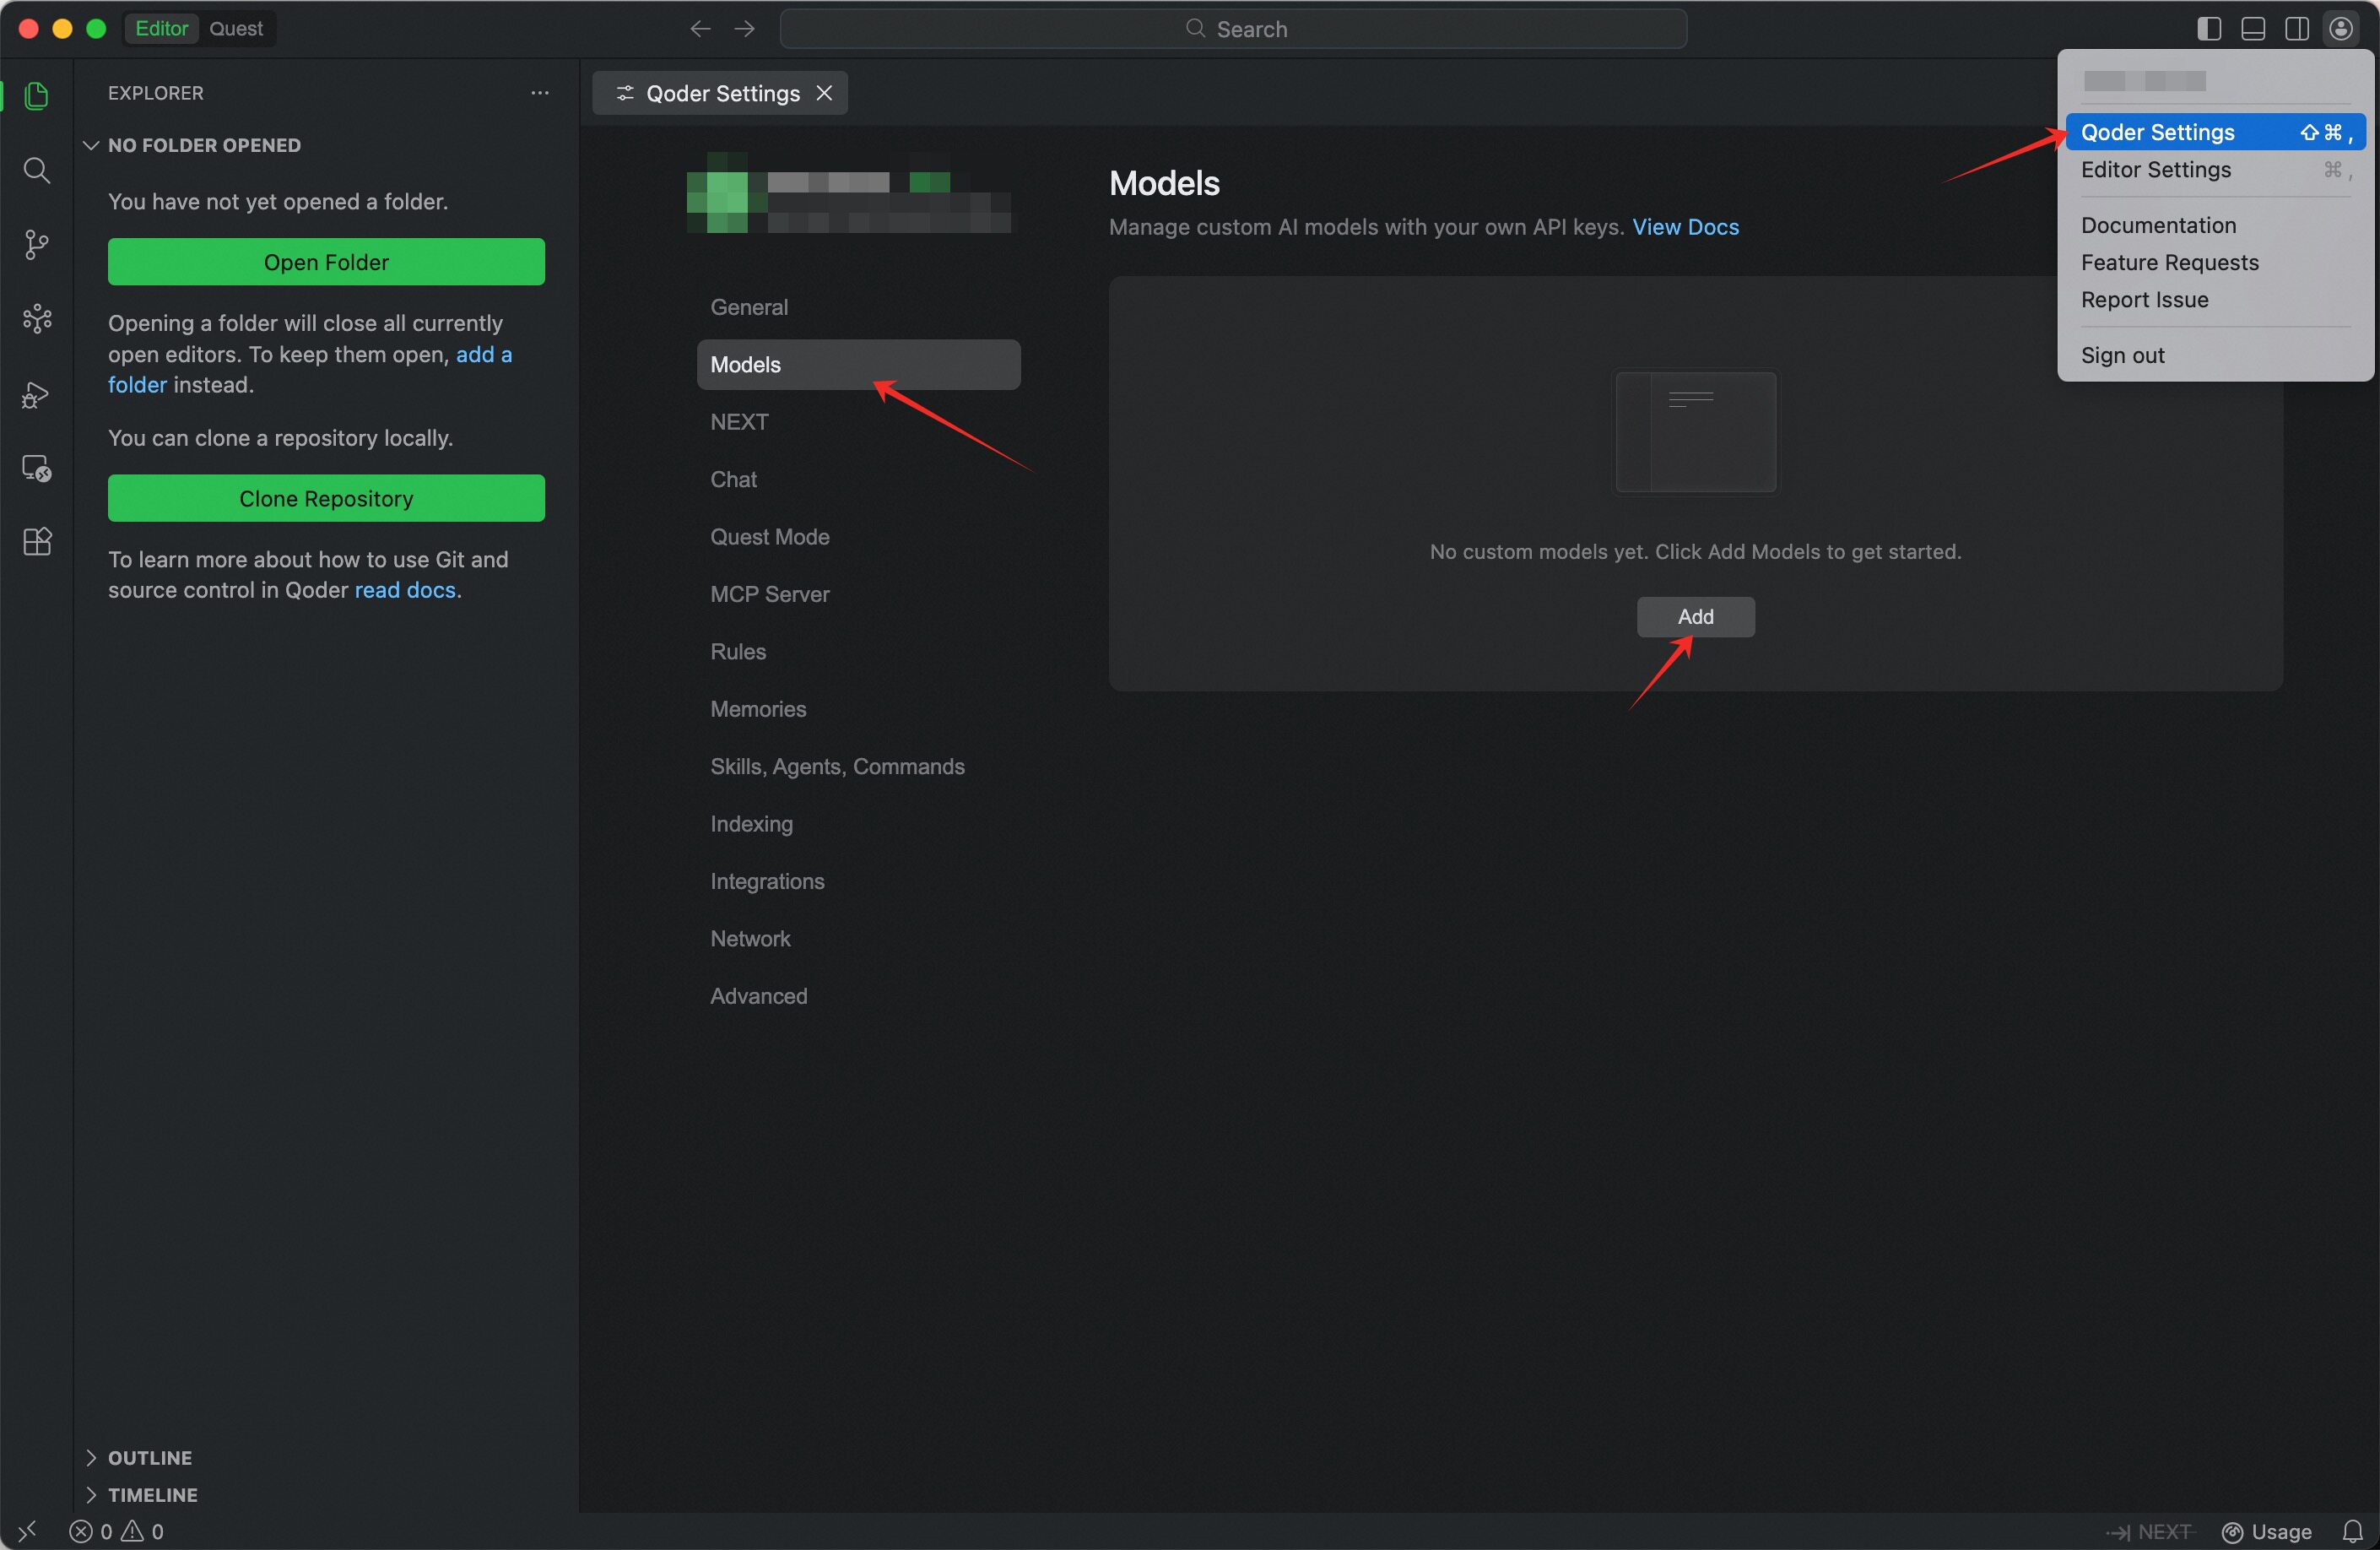
- Click the Qoder Settings icon at the top-right of the Qoder window, then choose Models from the sidebar.
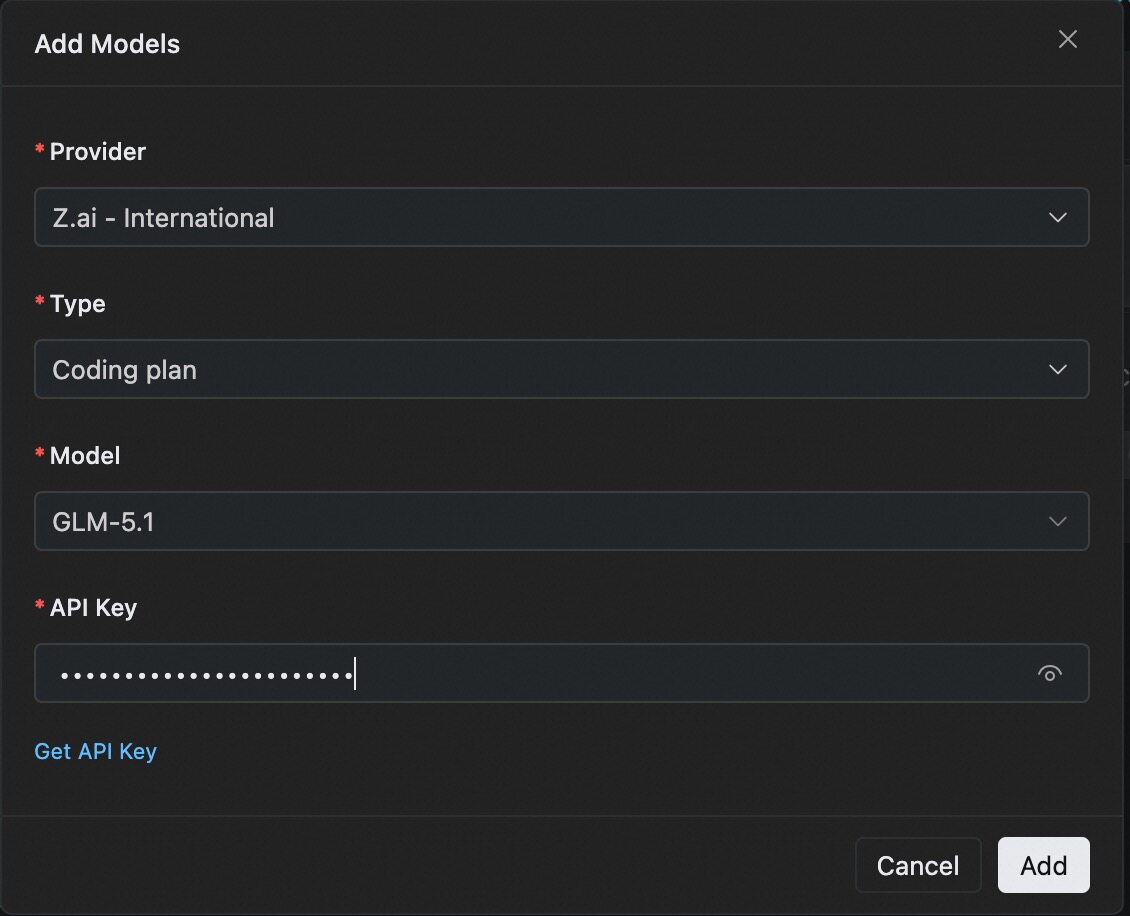
Enter Configuration Details
- Provider: Select Z.ai - International or Z.ai - China
- Type: Select Coding plan
- Model: Choose the model you want to use from the dropdown
- API Key: Enter your Z.AI API Key
Step 3: Get Started with Qoder + GLM
Once configured, switch to your newly added GLM model from the model selector at the bottom of the Chat panel — or in Quest mode — in Qoder IDE, and start chatting. You can then use GLM for feature implementation, code generation, refactoring, debugging, and multi-step agentic coding tasks.
FAQ
Connection Fails When Adding Model
- Verify that your Z.AI API Key is correct and active.
- Confirm that you have subscribed to the GLM Coding Plan.
- Check network connectivity and try again. If errors persist, review the error message shown in the Add Model dialog.
Coding Plan worked in Qoder before, but after a while I can no longer switch to a Coding Plan model and the configuration is not editable. Why?
- Cause: New Qoder users get a free two-week Qoder Pro Trial. After it expires, the account automatically reverts to the free version, which no longer supports Coding Plan.
- Solution: Upgrade to Qoder Pro Trial, Pro, Pro+, or Ultra.